Introduction
Screen mirroring allows users to display the content of their Amazon Fire Tablets on larger screens, such as a PC. This feature can be immensely useful for presentations, entertainment, or simply when you want a bigger display. In this comprehensive guide, we’ll walk you through the process of wirelessly screen mirroring your Amazon Fire Tablet to a PC, ensuring a smooth and hassle-free experience.
Preparation
Before diving into the setup process, let’s gather the necessary equipment and ensure your devices meet the requirements:
- Amazon Fire Tablet: Make sure your device supports screen mirroring. Typically, models such as Fire HD 8 and Fire HD 10 do.
- PC: A laptop or desktop running on a Windows operating system, preferably Windows 10 for compatibility with most mirroring applications.
- Wi-Fi Network: Ensure both your Amazon Fire Tablet and PC are connected to the same stable Wi-Fi network. This is crucial for a seamless mirroring experience.
- Screen Mirroring App: You might need an application to facilitate the mirroring. Popular choices include AirScreen, Reflector, or ApowerMirror.
A thorough preparation ensures you encounter fewer issues during the mirroring process. With everything in place, let’s dive into the actual setup.
Setting Up Your Amazon Fire Tablet
To enable your Amazon Fire Tablet for screen mirroring, follow these steps:
- Navigate to Settings: Open your Amazon Fire Tablet and go to ‘Settings’ from the home screen.
- Display & Sounds: Under Settings, find and tap on ‘Display & Sounds.
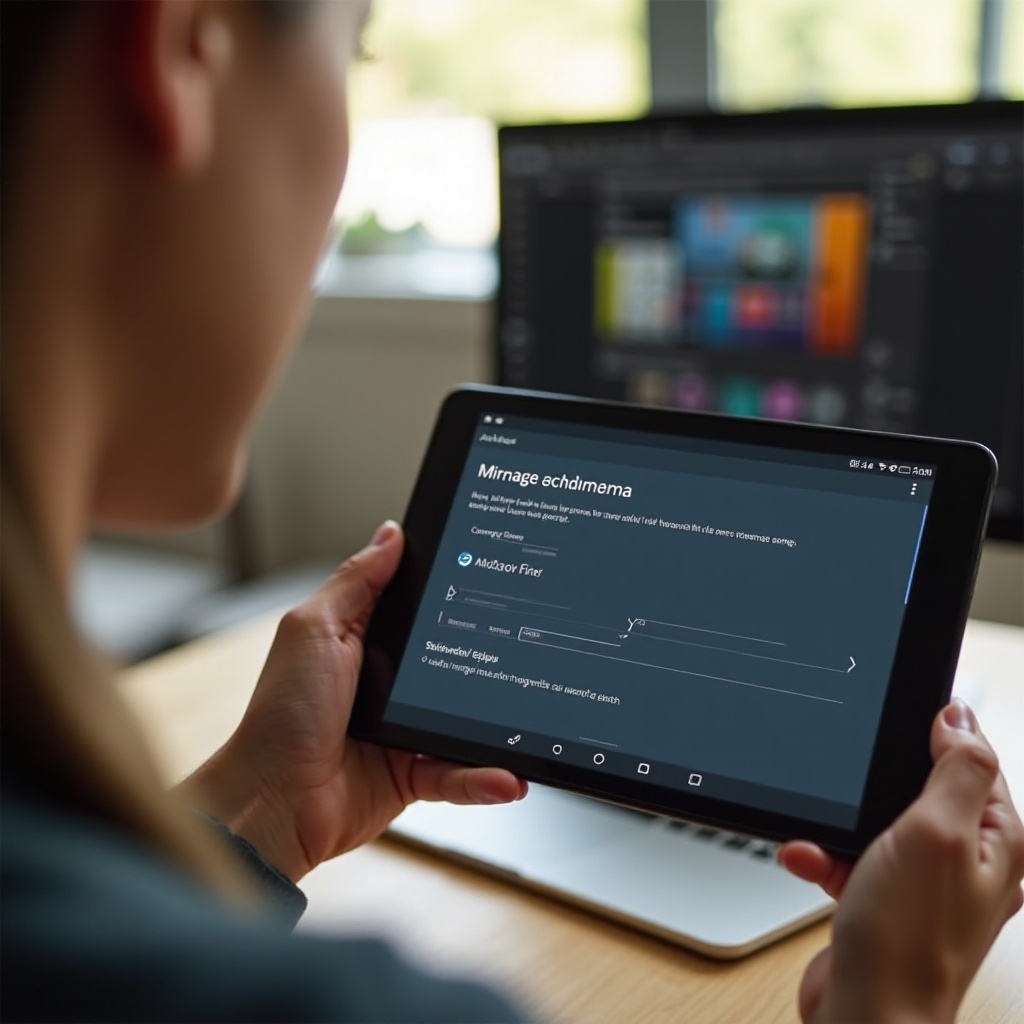
- Enable ‘Display Mirroring’: In the ‘Display & Sounds’ menu, you will find ‘Display Mirroring.’ Tap on it to see the available devices for mirroring. Your Amazon Fire Tablet will start searching for compatible devices.
- Select Your PC: Once your tablet finds your PC, select it to initiate the connection.
These steps configure your Amazon Fire Tablet to be ready for screen mirroring. Now let’s adjust your PC settings to complete the connection.
Setting Up Your PC
To seamlessly mirror your Amazon Fire Tablet to your PC, follow these PC setup steps:
- Install a Mirroring Application: Depending on your preference, download and install a mirroring application compatible with both your Amazon Fire Tablet and PC. We recommend using AirScreen, Reflector, or ApowerMirror.
- Open the Application: Once installed, open the mirroring application on your PC.
- Enable Wireless Display: On Windows 10, you can enable wireless display by going to ‘Settings’ > ‘System’ > ‘Projecting to this PC’. Set the options based on your preference, such as ‘Available everywhere on secure networks.
- Allow Connections: Ensure your PC is ready to receive connections by keeping the mirroring application open and allowing necessary permissions.
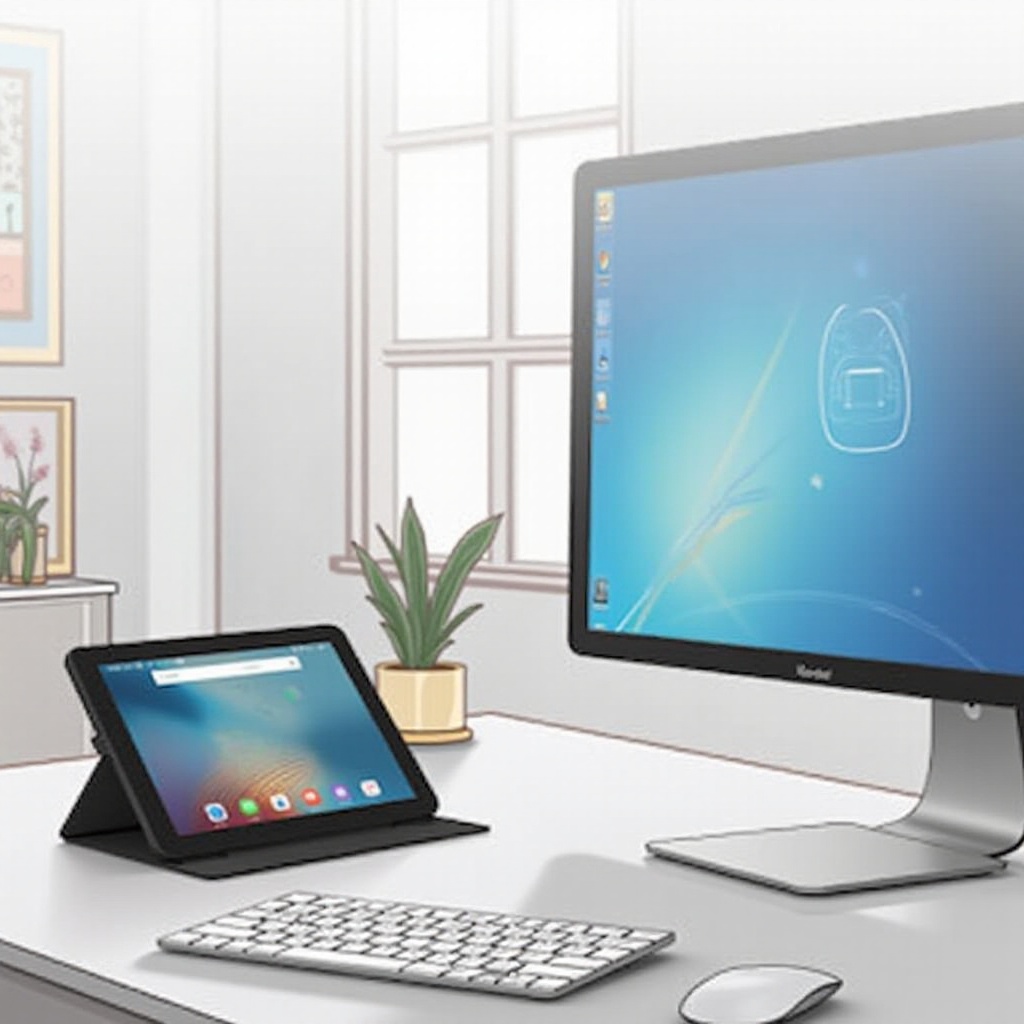
With these steps, your PC is now set up to receive the mirrored display from your Amazon Fire Tablet.
Establishing the Wireless Connection
Once both devices are properly set up, it’s time to connect them:
- Open Display Mirroring on Tablet: On your Amazon Fire Tablet, go back to ‘Display Mirroring’ under ‘Settings.
- Select Your PC: Choose your PC from the list of available devices.
- Authorize the Connection: A prompt may appear on your PC requesting permission to allow the Amazon Fire Tablet to mirror its display. Grant the permission to begin mirroring.
After you complete these steps, your Amazon Fire Tablet screen should appear on your PC. Congratulations, you’ve successfully mirrored your screen!

Optimizing Your Screen Mirroring Experience
To ensure a smooth and high-quality screen mirroring session, consider the following tips:
- Close Unnecessary Applications: Ensure that you close any unnecessary applications running on both your Amazon Fire Tablet and PC to free up system resources.
- Stable Wi-Fi: Use a strong and stable Wi-Fi connection to prevent lag or disconnections during mirroring.
- Update Software: Keep your devices updated with the latest software and firmware to ensure compatibility and the best performance.
Following these tips, you can enhance your screen mirroring experience, making it more efficient and less prone to disruptions.
Common Troubleshooting Tips
If you encounter any issues, here are some troubleshooting steps:
- Check Network Connection: Ensure both devices are connected to the same Wi-Fi network.
- Restart Devices: Sometimes, a simple reboot of both your Amazon Fire Tablet and PC can resolve connectivity issues.
- Reinstall Applications: Uninstall and reinstall the screen mirroring application on both devices to clear any application-related glitches.
Addressing these common problems can help you quickly resolve issues and get back to a smooth mirroring experience.
Conclusion
Screen mirroring your Amazon Fire Tablet to a PC opens up a realm of possibilities for enhanced productivity and entertainment. By following this guide, you’ll be able to enjoy your tablet’s content on a larger screen with minimal hassle. Optimize the setup by ensuring both devices are up-to-date and working on the same network, hence lessening the chance of interruptive lags.
Frequently Asked Questions
How can I ensure a stable connection during screen mirroring?
To maintain a stable connection, ensure both your Amazon Fire Tablet and PC are close to your Wi-Fi router and free from interference. Using a dual-band router or switching to the 5GHz band can improve stability.
What should I do if my devices are not connecting?
Double-check that both devices are on the same Wi-Fi network and try restarting both devices. If the issue persists, reinstall the mirroring application on both devices.
Are there any third-party apps recommended for better performance?
Yes, apps like AirScreen, Reflector, and ApowerMirror are often recommended for their ease of use and reliability in creating a stable mirroring connection.