Introduction
Changing a battery in a Dell Z14 laptop can seem daunting, but it’s a straightforward process if approached correctly. A new battery can extend your laptop’s life, ensuring you stay productive without being tethered to a power outlet. This guide will walk you through the entire process, from preparation to post-installation steps, making it easy even for beginners. Let’s dive in and give your laptop the power boost it needs!
Preparation and Safety
Before you start, it’s vital to prepare adequately and follow safety guidelines to avoid damaging your laptop or injuring yourself.
-
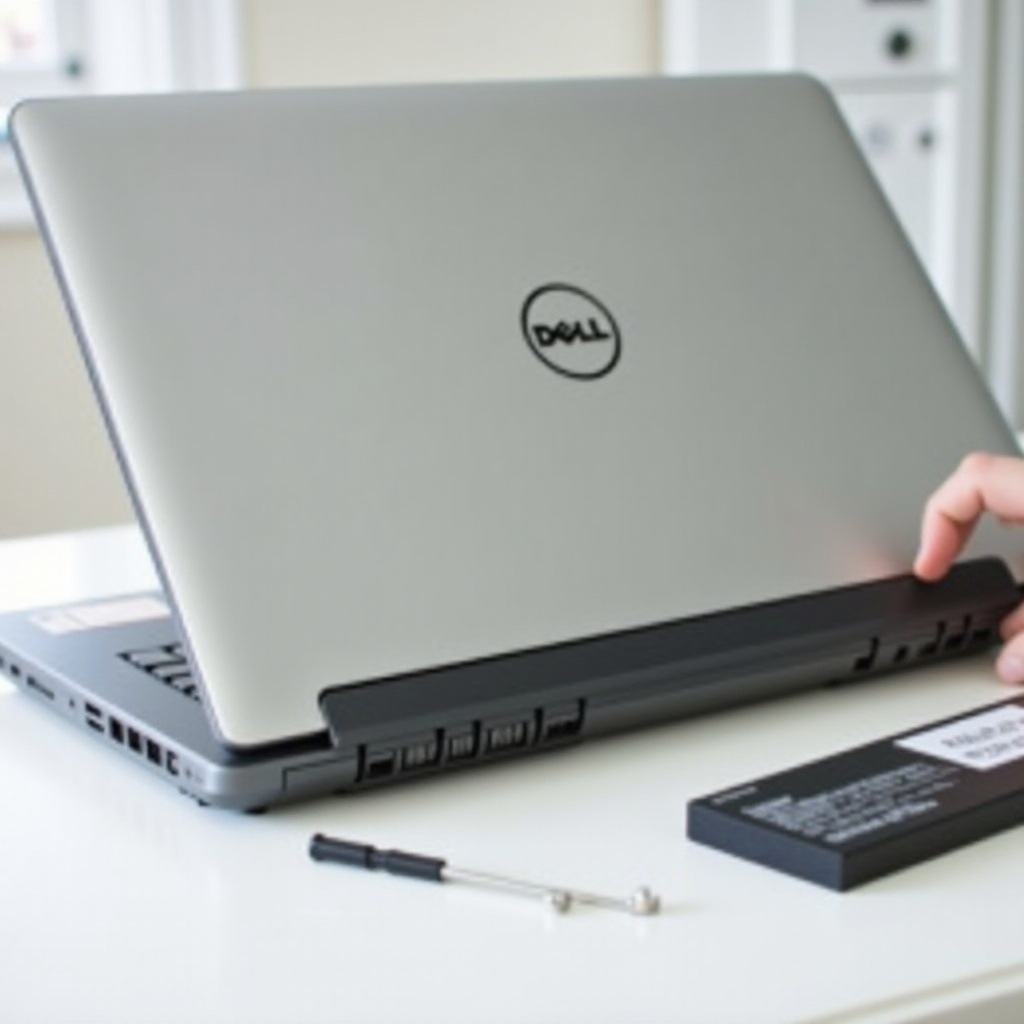
Gather Your Tools: You’ll need a small Phillips screwdriver, an antistatic wrist strap, and a new Dell Z14-compatible battery. Ensure the new battery is an authentic Dell product for optimal performance and compatibility.
-
Power Down and Unplug: Shut down your Dell Z14 and disconnect it from any power sources. This eliminates any electrical risks while you work.
-
Anti-Static Measures: Wear an antistatic wrist strap attached to an unpainted metal surface, which will prevent static electricity from damaging sensitive laptop components.
By following these steps, you set a safe environment that reduces the risk of harm to both you and your device.
Accessing the Battery Compartment
Now that you’re prepared, it’s time to access the battery compartment. The Dell Z14’s design makes this relatively simple.
-
Flip and Position: Place your laptop upside down on a clean, flat surface. Ensure the surface is static-free and clear to prevent any damage or loss of screws.
-
Locate Screws and Access Panel: Identify the screws securing the access panel. Typically, there are several small screws around the perimeter holding the panel in place.
-
Remove Screws: Use a Phillips screwdriver to carefully remove these screws. Keep them in a small container to avoid losing them.
-
Open the Access Panel: Gently lift the access panel off using your fingers or a plastic prying tool. Avoid using metal tools that might damage the surface.
With the access panel removed, you now have a clear view of the internal components, including the battery.

Removing the Old Battery
Removing the old battery involves a few careful steps to ensure the current battery is safely displaced without causing any harm:
-
Identify the Battery: The Dell Z14 battery is typically a large, rectangular component located near the bottom edge of the laptop.
-
Disconnect the Battery Cable: Locate the battery connector cable attached to the motherboard. Gently unplug this connection by wiggling it free from the socket, exerting minimal force to prevent damage.
-
Unscrew the Battery: Look for the screws securing the battery in place. Remove these screws carefully using the Phillips screwdriver and set them aside in a safe place.
-
Lift the Battery Out: Once the screws are removed and the cable disconnected, gently lift the old battery out of the compartment. Handle it with care, avoiding stress on any delicate internal components.
With the old battery safely out, you’re ready to install the new one.
Installing the New Battery
Installing the new battery involves reversing the steps you used to remove the old one, but with the added diligence to ensure everything is correctly fitted and connected.
-
Fit the New Battery: Place the new battery into the compartment exactly where the old one was positioned, ensuring it sits snugly without forcing it.
-
Reconnect the Battery Cable: Plug the battery connection cable into the motherboard socket, ensuring a secure connection without applying excessive force.
-
Secure the Battery: Use the screws removed earlier to secure the new battery in place. Tighten them carefully to avoid damage but make sure they’re firmly in place.
Your new battery is now correctly installed, but the process isn’t over yet.
Reassembling Your Laptop
After installing the new battery, it’s time to reassemble the laptop.
-
Replace the Access Panel: Position the access panel back over the battery compartment and align it correctly with the screw holes.
-
Secure the Panel: Reinsert and tighten the screws you previously removed, ensuring the panel is firmly attached and there are no gaps.
Once the laptop is reassembled, the next steps involve ensuring the new battery works correctly.

Post-Installation Steps
Before you power up your laptop, take these final steps to ensure everything is set:
-
Initial Charge: Connect your laptop to the power adapter and charge the new battery fully before turning it on. This helps initialize the battery and ensure it functions at full capacity.
-
Power On: Once charged, power on your Dell Z14. Check for any error messages or issues. If the laptop doesn’t turn on, double-check all connections and screws.
-
Battery Health Check: Use your laptop’s built-in software to check the new battery’s health. Ensure it’s recognized and functioning correctly.
This ensures your laptop runs smoothly with the new battery, giving you the power to work efficiently.
Conclusion
Changing the battery in a Dell Z14 laptop may seem complex, but with this guide, the process is straightforward. By following the preparation, removal, installation, and post-installation steps carefully, you can extend the life of your laptop and enjoy uninterrupted productivity.
Your laptop is now revitalized with a new battery, ready to perform its best.
Frequently Asked Questions
How often should I change my Dell Z14 laptop battery?
Typically, laptop batteries should be replaced every 2-3 years, but this can depend on usage and battery health.
What tools do I need to replace the battery in a Dell Z14?
You will need a small Phillips screwdriver, a plastic prying tool, and an antistatic wrist strap.
How can I tell if my Dell Z14 battery needs replacing?
Signs your battery needs replacement include rapid discharge, inability to hold a charge, or your laptop not powering on without being connected to the power adapter.