Introduction
Creating email groups on your iPhone can streamline your communication. Whether you need to keep in touch with your family, team, or any group, knowing how to set up group emails is essential. This guide will walk you through the entire process, ensuring you can create and manage email groups effectively using various tools on your iPhone.

Prerequisites
Before diving into the steps of creating an email group on your iPhone, there are a few things you should prepare:
1. Ensure your iPhone is running the latest iOS version.
2. Have your email account set up and synced with your Contacts app.
3. A stable internet connection is necessary for syncing and using iCloud and third-party apps.
With these prerequisites in place, you’re ready to start creating your email groups.
Using the Contacts App
One of the easiest ways to create an email group on your iPhone is through the Contacts app. Here’s a step-by-step guide for using this built-in app to get your group set up.
Opening the Contacts App
- Tap on the ‘Contacts’ application on your iPhone home screen or open the Phone app and select the ‘Contacts’ tab.
- Ensure all necessary contacts are listed; if not, add them manually.
Creating a New Contact
To create a new contact that will represent your email group:
1. Tap the ‘+’ icon in the top-right corner of the Contacts screen.
2. In the ‘First name’ field, enter a name for the group (e.g., Family, Team).
3. In the ‘Email’ field, add the email addresses of each group member separated by commas.
Grouping Multiple Emails Under One Contact
- For each new email address you add, tap ‘return’ on your keyboard to move to the next line.
- Once all emails are added, tap ‘Done’ in the top-right corner to save the contact.
- When you need to send an email to this group, open your Mail app, and in the ‘To’ field, start typing the group name. The grouped contact will appear, and all included emails will be added to the email automatically.
Utilizing iCloud for Email Groups
Using iCloud to create email groups offers more flexibility and integration across all your Apple devices. Here’s how you can utilize iCloud for this purpose.
Accessing iCloud Contacts
- On your computer, open a web browser and navigate to www.icloud.com.
- Sign in using your Apple ID and password.
- Click on the ‘Contacts’ icon to open your iCloud Contacts.
Creating a New Group
- In the lower-left corner, click the ‘+’ icon and select ‘New Group.
- Name your new group.
- Drag and drop the contacts you want to include in the group into the newly created group.
Synchronizing Groups with Your iPhone
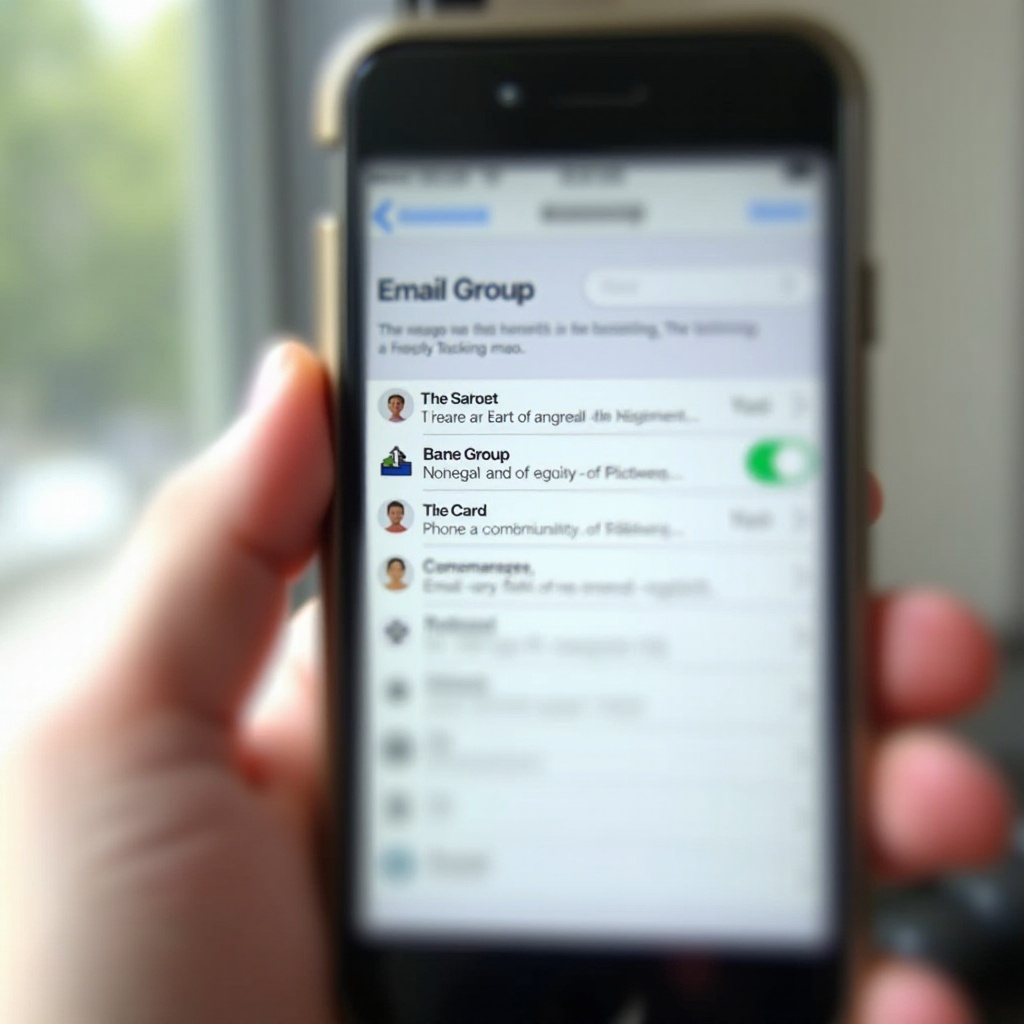
- On your iPhone, go to ‘Settings,’ then tap on your name at the top.
- Select ‘iCloud’ and ensure that ‘Contacts’ are toggled on.
- Your iPhone will now sync with your iCloud account, and the new email groups will appear in your Contacts app.
Using Third-Party Apps
If the built-in options do not meet your needs, several third-party apps can help manage email groups more effectively. Now that we’ve seen how to use iCloud, let’s explore some third-party apps.
Overview of Popular Third-Party Apps
Some popular third-party apps include:
1. A2Z Contacts – Offers extensive group management features.
2. Contacts+ – Provides seamless integration and easy group creation.
3. MailShot – Specifically designed for creating and managing large email groups.
Step-by-Step Guide Using a Selected App
For this guide, we’ll use the ‘A2Z Contacts’ app:
- Install ‘A2Z Contacts’ from the App Store.
- Open the app and allow access to your Contacts.
- Tap ‘Groups’ at the bottom and then tap ‘Create New Group.
- Name your group and select the contacts you want to add. Tap ‘Done.
Managing Groups with Third-Party Apps
- To add or remove members, open the app and select your group.
- Tap ‘Edit’ to make changes.
- For sending an email, tap on the group name, and choose ‘Email All’ from the options.
Managing and Updating Email Groups
Regular management of your groups ensures they remain updated and efficient. Here’s how to keep your email groups in shape:
Adding or Removing Emails
- Open the Contacts app or third-party app.
- Select the group and tap ‘Edit.
- Add or remove emails as needed and save your changes.
Editing Group Details
- For iCloud groups, access iCloud Contacts via a web browser to edit details.
- For third-party app groups, use the app’s built-in editing tools.
- Keep group names relevant and updated.
Best Practices for Efficiency
- Regularly update contact information.
- Keep group names clear for easy identification.
- Limit the number of recipients to avoid email delivery issues and ensure privacy.
Troubleshooting Common Issues
Sync Problems
Ensure your iCloud settings are correctly configured. Sometimes, simply toggling iCloud Contacts off and back on can resolve sync issues.
Email Delivery Problems
Check for typos in email addresses and ensure there are no unnecessary spaces. If using a third-party app, ensure you follow the app’s guidelines for group emails.
Other Common Issues
For issues like app crashes or malfunctions, try reinstalling the app or updating to the latest version. Apple Support and the customer service of third-party app developers can also offer solutions.
Conclusion
Creating an email group on your iPhone can significantly improve your communication efficiency. Whether using the built-in Contacts app, utilizing iCloud, or leveraging third-party apps, a method suits your needs. Keep your groups updated, and follow best practices to ensure smooth and effective communication.
Frequently Asked Questions
What Should I Do If My Contacts Don’t Sync?
Ensure your iCloud Contacts synchronization is turned on in your iPhone settings and check your internet connection. Sometimes toggling the sync settings off and on can help.
Can I Create Multiple Email Groups?
Yes, you can create as many email groups as you need using the Contacts app, iCloud, or third-party apps. Each method allows multiple group configurations.
How Can I Ensure Emails Reach All Group Members?
Double-check the email addresses for accuracy and keep your groups updated. Avoid having too many recipients in one email to prevent servers from flagging your emails as spam.