Introduction
Want to know how to remove the stand on an Acer monitor? You’re not alone. Many users seek to mount their Acer monitors on adjustable arms or simply prefer a different setup. Whether it’s for a more ergonomic workspace, to reduce desk clutter, or for any other reason, the need to remove the stand on an Acer monitor can arise. This guide will walk you through each necessary step, ensuring that the process is straightforward and hassle-free. Let’s dive into the details and explore how to accomplish this.
Understanding Your Acer Monitor Stand
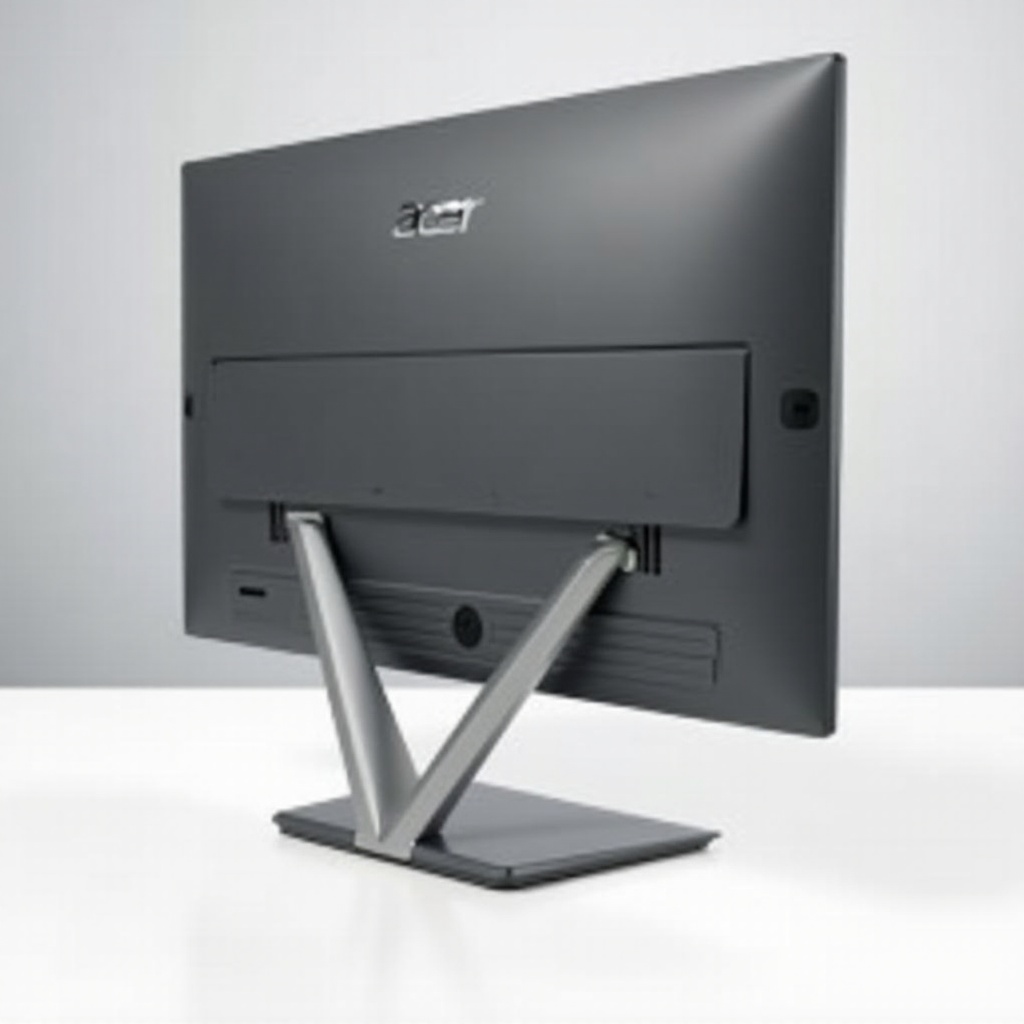
Before diving into the removal process, it’s essential to understand your Acer monitor’s configuration. Acer monitors generally come with detachable stands. Some models may include screws or other locking mechanisms to secure the stand, which are important to identify before starting the removal process. Familiarizing yourself with the various components will help you proceed smoothly.
Examine the base – typically made of metal or sturdy plastic – that’s attached to the monitor. Check for any visible screws or release mechanisms. If necessary, consult the user manual for specific details regarding your model. Understanding the build will not only make removing the stand easier but ensure you don’t accidentally damage the monitor in the process.
Preparation Steps
Preparation is crucial for a smooth and safe removal process. Follow these steps to get ready:
- Power Down and Unplug: Ensure the monitor is turned off and unplugged from the power source.
- Choose a Safe Workspace: Use a flat, stable surface like a table or desk to work on. Lay down a cloth or towel to protect the screen.
- Gather Necessary Tools: Depending on your monitor model, you might need a screwdriver. Check if it’s a flathead or Phillips screwdriver.
- Remove Cables: Disconnect all cables from the monitor to prevent any obstructions.
By preparing everything you need beforehand, you’ll ensure that the removal process is straightforward and risk-free.
Removing the Stand: Step-by-Step Guide
Now that you’re prepared, it’s time to remove the stand. Follow these detailed steps to avoid any mishaps:
- Position the Monitor: Carefully lay the monitor screen down on the flat surface covered by a cloth or towel. This protects the screen from scratches.
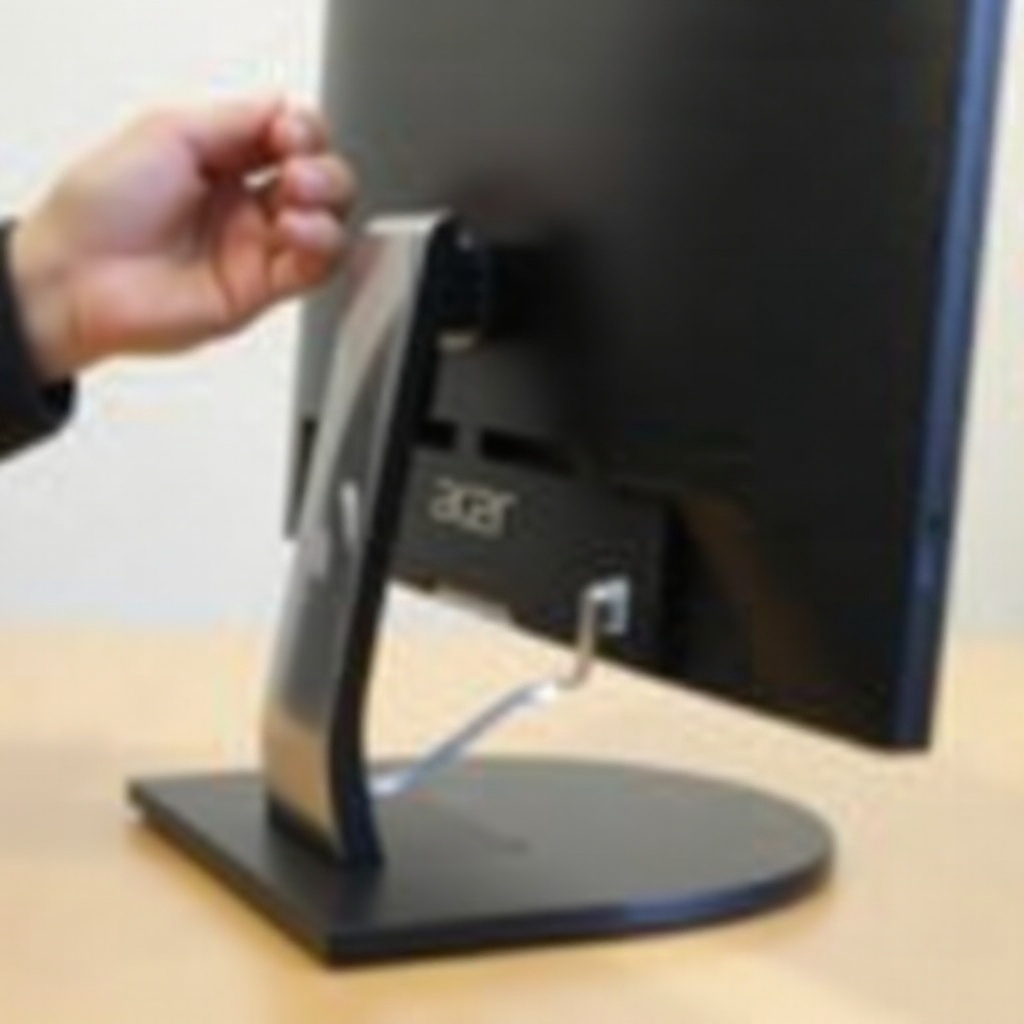
- Identify the Locking Mechanism: Look at the point where the stand meets the monitor. There might be screws or a release button.
- Use the Release Button:
- If your model features a release button, press it while gently pulling the stand away from the monitor.
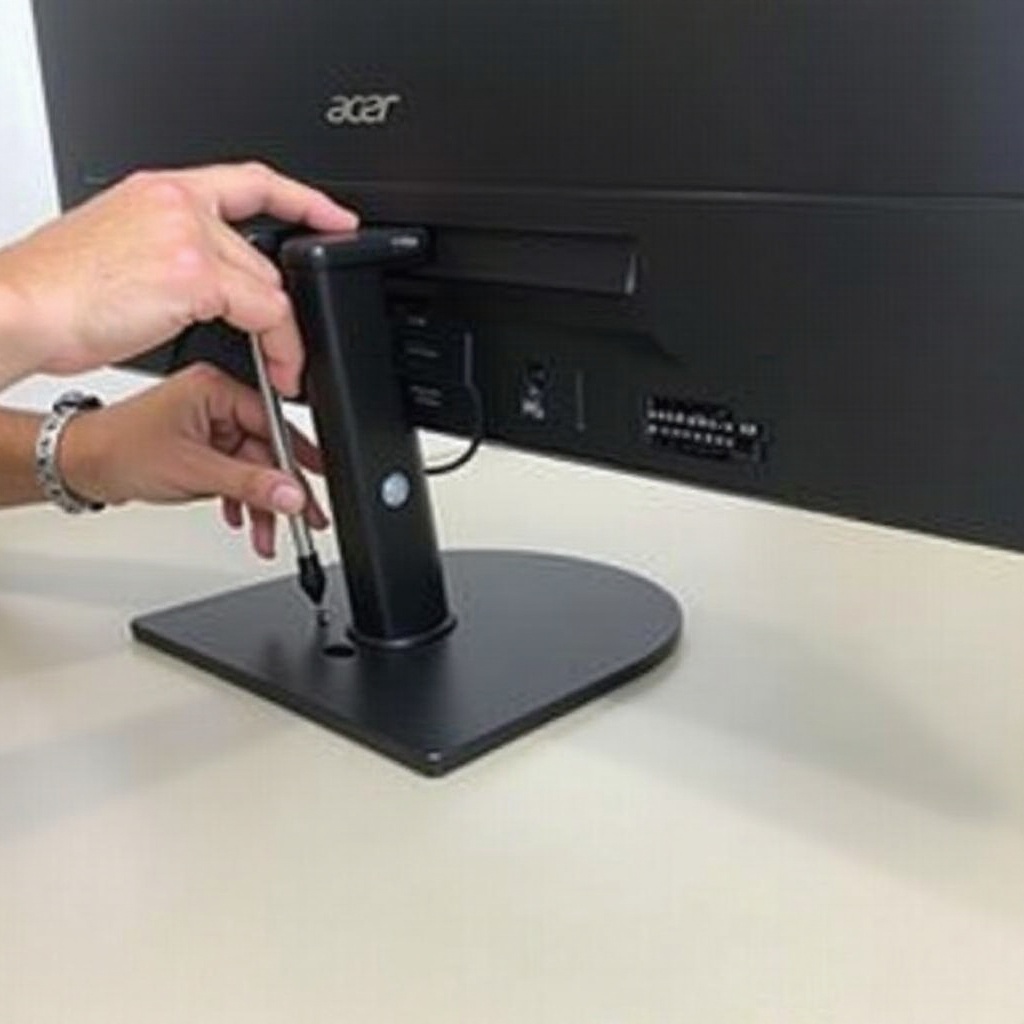
- Handling Screws:
- If screws are holding the stand, use the appropriate screwdriver to remove them. There are usually four screws at the mount.
- Keep the screws in a safe place in case you need to reattach the stand later.
- Detach the Stand: After releasing the button or removing the screws, gently pull the stand away from the monitor. Support the monitor with one hand to prevent it from falling.
Follow these steps to ensure a smooth removal of the stand. If you encounter any resistance, refer to the troubleshooting section for advice.
Alternative Removal Methods
In cases where the stand is stubborn, alternative methods can be employed:
- Manual and Manufacturer’s Help: Refer back to the user manual for any model-specific tips. Manufacturer customer support can also offer guidance.
- Online Forums and Videos: Seek step-by-step visual guides via online tutorials, particularly on platforms like YouTube where users often share their own experiences and tips.
By considering these alternatives, you can find the best method to suit your specific Acer monitor model, ensuring a smooth and damage-free removal process.
Troubleshooting Common Problems
Sometimes, things don’t go as planned. Here are common issues and solutions:
- Stuck Screws: Apply a bit of lubrication and use a proper screwdriver with a good grip.
- Tight Locking Mechanism: Wiggling gently while pressing the release button can help. Avoid using excessive force to prevent damage.
- Residual Attachment: Double-check for any screws or locking mechanisms you may have missed.
Addressing these problems proactively can save time and prevent potential damage to your monitor.
After Removal: Next Steps
Once the stand is removed, you may have several options:
- Mounting: Use a VESA mount to attach the monitor to a wall mount or an adjustable arm. Ensure compatibility with your monitor.
- Storage: If you’re storing the monitor, keep it in a safe, dry place with adequate protection.
- Reattaching the Stand: If you plan to reattach the stand in the future, keep all hardware (screws, stand) in a labeled bag for easy access.
By planning the next steps, you ensure that your monitor remains in optimal condition until its next use.
Conclusion
Removing the stand on an Acer monitor doesn’t have to be a daunting task. With the right preparation, understanding of the mechanisms, and step-by-step guidance, you can accomplish it efficiently and safely. Whether you’re looking to mount your monitor for better ergonomics or simply rearrange your desk, following these steps ensures you do it correctly.
Frequently Asked Questions
How do I know if my Acer monitor stand is removable?
Check the user manual or Acer’s website for your specific model. Look for release buttons or screws at the meeting point of the stand and monitor.
Can I put the stand back on after removing it?
Yes, you can reattach the stand. Keep all screws and hardware safe, and reverse the removal steps to reattach.
What should I do if the stand does not come off easily?
Double-check for any missed screws or locks, try gentle wiggling and refer to the user manual. If needed, seek help from customer service or online forums.