Introduction
Is your Steel Series laptop lagging or freezing frequently? Upgrading your laptop’s RAM can be a game-changer, enhancing performance by speeding up multitasking, reducing load times, and improving overall efficiency. This comprehensive guide offers a detailed look at understanding, preparing, executing a RAM upgrade in your Steel Series laptop, and optimizing post-upgrade settings. Read on to unlock the full potential of your computing experience!

Understanding RAM and Its Importance
RAM, or Random Access Memory, is a crucial component in determining your laptop’s performance. It’s where your laptop stores data for running applications and the operating system. The more RAM available, the more data your laptop can handle efficiently, thereby improving its responsiveness and multitasking capabilities.
What is RAM?
RAM is a temporary storage medium that allows data to be read and written quickly. Unlike a hard drive or SSD, RAM is the primary memory used for the temporary storage of active processes and data. When your laptop runs a program, the necessary data gets loaded into RAM because it’s much faster to read from and write to than other types of storage.
How RAM Affects Laptop Performance
RAM significantly impacts the speed and performance of your laptop. A larger RAM size means your laptop can handle more applications simultaneously, making operations smoother. More RAM helps in faster boot times, quicker access to applications, and overall better performance, especially when working with large files or complex programs.
Preparing for Your RAM Upgrade
Before diving into the upgrade process, preparation is key to ensure a smooth and successful operation. You need to understand your laptop’s current RAM configuration, select the right type and amount of RAM, and gather the necessary tools.
Checking Your Current RAM Configuration
First, identify how much RAM your laptop currently has and what type it uses. You can do this by:
- Typing ‘System Information’ in the Windows search bar.
- Looking for ‘Installed RAM’ under the ‘System Summary.
Ensure you also check the RAM slots available using system monitoring tools or by referring to the laptop’s manual.
Selecting the Right RAM Module
Steel Series laptops generally support DDR4 RAM, but it’s essential to verify this from your laptop’s manual or manufacturer’s website. Factors to consider include:
- Capacity: How much RAM do you need? The more, the better within your laptop’s maximum support.
- Speed: Faster speeds translate into better performance. E.g., 2400MHz, 2666MHz.
- Compatibility: Always cross-check compatibility with your laptop model to avoid purchase errors.
Tools and Safety Precautions
Gather the necessary tools such as a screwdriver, anti-static wrist strap, and a clean workspace. Taking safety precautions like grounding yourself to prevent static electricity damage and working in a dust-free environment can save you from accidental hardware damage.
Step-by-Step RAM Upgrade Process
The upgrading process involves several meticulous steps. Let’s detail each to ensure you enhance your laptop without hiccups.
Opening Your Steel Series Laptop
- Shut down your laptop and disconnect all external devices.
- Flip the laptop upside down and locate the screws on the back panel.
- Use the screwdriver to remove these screws and gently lift off the back panel.
Removing Existing RAM
- Anti-static precautions are vital. Wearing an anti-static wrist strap is advisable.
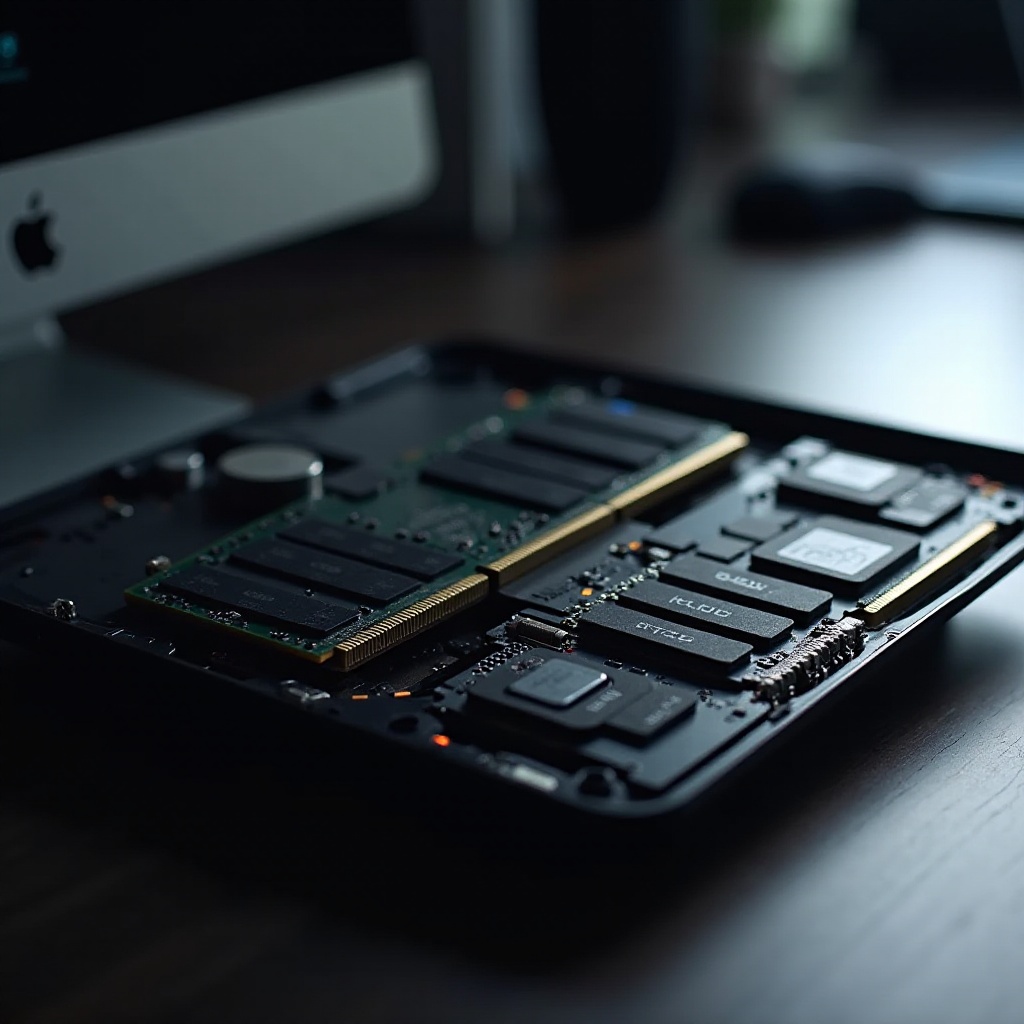
- Locate the RAM slots, which are typically near the laptop’s center.
- Push the clips on each side of the RAM module outward to release the existing RAM.
Installing the New RAM Module
- Align the new RAM module notch with the slot and insert it at an angle.
- Firmly press down until the clips snap into place, securing the RAM.
Reassembling and Testing the Laptop
- Replace the back panel and screws.
- Reconnect all external devices and power on your laptop.
- The system should boot normally; check if the new RAM is recognized.

Post-Upgrade Optimizations and Troubleshooting
With new RAM installed, the final steps involve verification and ensuring everything is working correctly.
Verifying RAM Installation in BIOS
- Enter the BIOS setup during startup (usually by pressing F2 or Delete).
- Check the system information. The newly installed RAM should be listed and its total capacity confirmed.
Running Performance Benchmarks
Use performance benchmarking tools like PassMark or UserBenchmark to:
1. Verify the impact of the RAM upgrade.
2. Compare current performance to pre-upgrade levels.
Common Issues and Solutions
Some possible issues you might encounter include:
– Laptop not booting: Ensure RAM is seated correctly.
– System instability: Verify compatibility of RAM modules.
– Not detecting full RAM: Check OS limitations (32-bit vs. 64-bit).
Conclusion
Upgrading the RAM in your Steel Series laptop is a surefire way to boost its performance, making it more adept at handling your demands. By following this guide, you’ve equipped yourself with the knowledge to carry out the upgrade safely and effectively. Happy computing!
Frequently Asked Questions
What type of RAM is compatible with Steel Series laptops?
Steel Series laptops typically use DDR4 RAM. However, you should check your specific model’s manual or manufacturer’s specifications to determine the exact type and maximum supported capacity.
How much RAM can I upgrade to in my Steel Series laptop?
The maximum RAM capacity varies by model. Refer to your laptop’s manual or specifications on the manufacturer’s website. Many models support up to 32GB or 64GB.
Will upgrading RAM void my warranty?
Generally, upgrading RAM does not void the warranty. However, it’s crucial to verify this with the manufacturer. Opening the laptop and causing damage during the upgrade could void the warranty.